
The Ultimate Intercom Installation Checklist for Apartment Dwellers in Accra
Are you an apartment dweller in Accra who's been dreaming of upgrading your home security with an intercom system? Look no further! We've got the ultimate installation checklist specifically tailored for apartment residents like yourself. Say goodbye to outdated and unreliable doorbells, because we're here to guide you through all the essential steps to ensure a seamless and efficient intercom installation process. From choosing the perfect system that fits your needs to troubleshooting common problems, this comprehensive guide will leave you feeling confident and ready to take on this exciting home improvement project. So, let's dive right in and transform your living space into a modern oasis of convenience and safety!"
What is an Intercom?
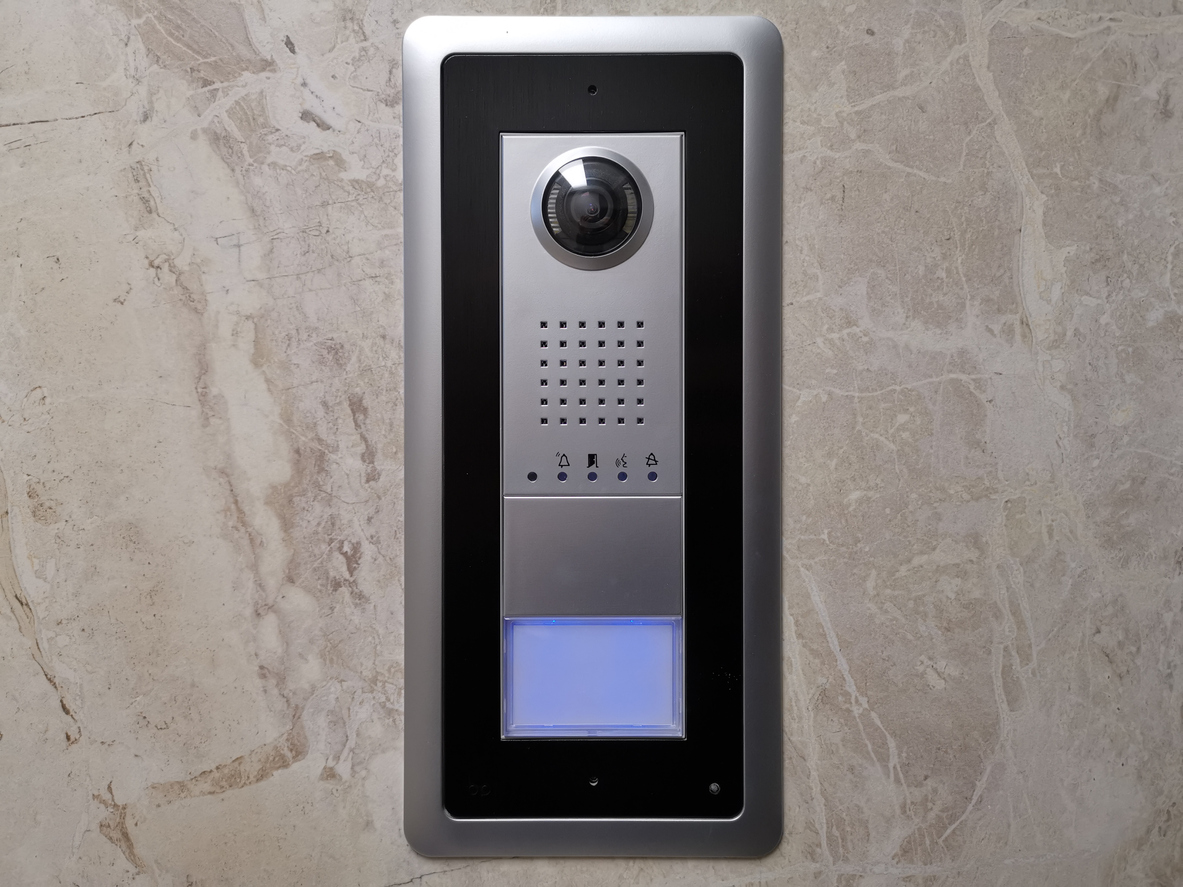
An intercom is a communication device that allows people in different parts of a building to communicate with each other. It can be used for residential purposes, such as allowing tenants to communicate with the property manager, or for commercial purposes, such as allowing customers in one part of a building to talk to customers in another part of the building.
Types of Intercoms
There are a few types of intercoms that apartment dwellers in Accra can use to communicate with one another. One common type of intercom is the push-to-talk model, which requires people to push a button on the intercom to speak and then press the button again to end their message. This type of intercom is common in residential buildings and typically uses voice recognition software to automatically translate messages into audio. Push-to-talk models can be expensive, but they're often convenient because they don't require anyone to fumble for a key or search for an address. Another type of intercom is the talk-through model, which requires people to walk up to the intercom and press a button to speak. This type of intercom is common in commercial buildings and typically only works if everyone who wants to use it has access to it. Talk-through models can be more expensive than push-to-talk models, but they're usually more reliable because there's no chance that someone will forget to press the button when they want to speak. Some apartment dwellers opt for hybrid models that combine features from both types of intercoms. For example, some apartments might have a push-to-talk model so residents can easily initiate communication with one another, while other areas might have a talk-through model so residents can easily hear one another when they're outside of their homes. Hybrid models are usually cheaper than either type of inter
How to Install an Intercom in Your Apartment
If you live in an apartment complex or condo, there is a good chance that you have an intercom system. Intercoms are great for communication between residents and building managers, as well as for emergency evacuations. Here are steps on how to install an intercom in your apartment: 1. Decide what kind of intercom system you want. There are three main types of intercom systems: voice-activated, push-button, and RFID. 2. Evaluate your space. Do you need a speakerphone or microphone? How many people will be using the intercom at once? How far apart will the units be? Will the units need power? 3. Purchase the necessary equipment. You’ll need a speaker, microphone, wiring kit, switches and receptacles, and an intercom controller (optional). 4. Install the equipment. Start by installing the speaker in one unit and connecting it to the wiring kit with wire connectors. Then connect the wiring kit to the other unit’s speaker with wire connectors. Connect each unit’s microphone to its corresponding connector on the wiring kit. 5. Test out your system by pressing any button on one unit and talking into the other unit’s microphone – you should hear everything clearly! If not, check that all connections are properly made and that both units are powered on – sometimes people forget to turn off their intercom systems after use!
Troubleshooting Tips for Installing an Intercom
If you're having trouble installing your intercom, follow these troubleshooting tips: 1. Verify that the intercom is compatible with your home's wiring. Some intercoms require a 12-volt power supply, while others require 3 volts. 2. Verify that the intercom is properly connected to your home's wiring. Make sure all of the wires are connected and properly routed. 3. Test the intercom by pressing the buttons on both units. If one unit doesn't respond, check to see if any of the wires are touching each other or another object in the way. 4. Reset the intercom by turning it off and then back on again. Pressing and holding down each button for three seconds should reset it.
💬 Lately commented
No comments yet — be the first to join the conversation.